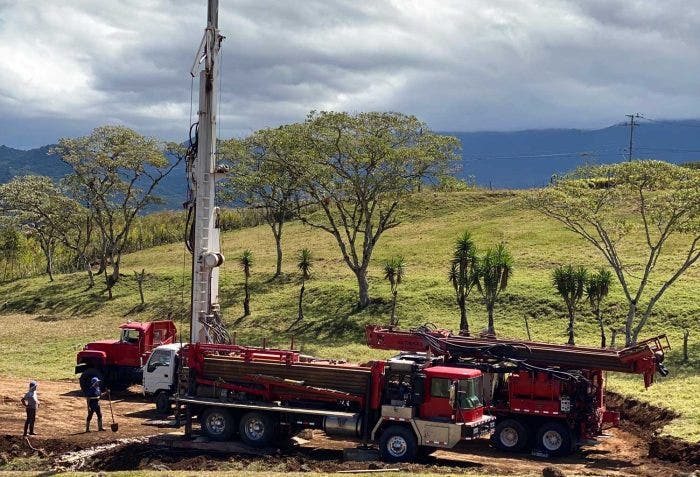
In our last blog post we talked about the four different legal water sources that are available in our area. This blog post will discuss one of those options - drilling a perforated well. I recently had a perforated well drilled on my own property, and felt it would be useful to share the process and some useful tips to consider before undertaking the project.
I needed to do a perforated well on my property, due to the fact that I do not have access to municipal/ASADA water. The recent changes in the regulations meant that I would not be able to register a hand-dug well and therefore would not be able to get a building permit with just a hand-dug well. My only option was, therefore, to do a perforated well. I used the drilling company Pura Vida Drilling, who I knew had drilled other wells in the area.
The process involves the following steps
Step One - Geologist Visit
Cost - $3,500
The geologist comes to your property to take coordinates and determine setbacks from your property borders, buildings, roads, rivers, natural springs, etc. He will mark a couple of points where the setbacks allow you to drill. Following the visit you will receive a report, which provides a survey of the other registered wells surrounding your property (there is a set back of 100 meter radius from these) and indicating the viable spots for drilling a well.
Tip 1! I wish i had grilled the geologist more when he was on site about what work i would have to do to prepare the area for drilling for each of the suggested points. They did set out in their report and quote that the spot chosen would need a flat platfrom of 7m by 15 m and that the access had to allow for heavy machinery. In my case the spot chosen was up against a hillside, and what I did not know at the time is that I would have to cut into the hillside in order to give the machinery enough space to access the spot. I also did not realise that I would have to lay down lastre on the roadway down to the drill location, to allow the heavy machinery to get in and out without getting stuck. The geologist would have been able to make this clear to me during his initial visit.
Tip 2! Once the geologist has done the work of locating the possible drill spots allowed by the setbacks, I would advise getting a trusted water diviner to come check each location to get some advice on whether water will be found there or not. The geologist does no more than check what other wells have been drilled in the area and what natural water sources there are close by. With that info they have a vague idea as to whether they will locate water or not. You don´t get your money back if they drill and find no water. The water diviner helped me choose between the two suggested spots, and we found a good source of water where he advised.
Step Two - Apply for the Permit to Drill
Cost - the permit application was included in the above fee.
The next step is to fill out the paper work and apply for the permit application. You will need to define exactly which GPS location you will be drilling for the permit applciation, and so will need to choose which of the two spots you prefer at this stage. The location can be changed afterwards, but requires a bit more documentation. I gave the geologist a power of attorny to complete the application on my behalf.
The permit takes anywhere between 1 and 3 months to come through. Mine took 2 months.
Step Three - Prepare the Site
Cost - this will depend on your unique situation
As mentioned above, you need to make sure you have a flat platform of approximately 7m x 15m around the drill spot. You also need to make sure that the heavy machinery can access the area. In my case, this meant hiring a backhoe to cut into the hillside to create the flat area around the drill spot and I had to lay lastre on the internal roadway to allow the machinery to enter and exit. After drilling I had to install a retaining wall where we had cut into the hillside. All this extra work cost $16,000. Obviously your site preparation costs will depend on your unique situation.
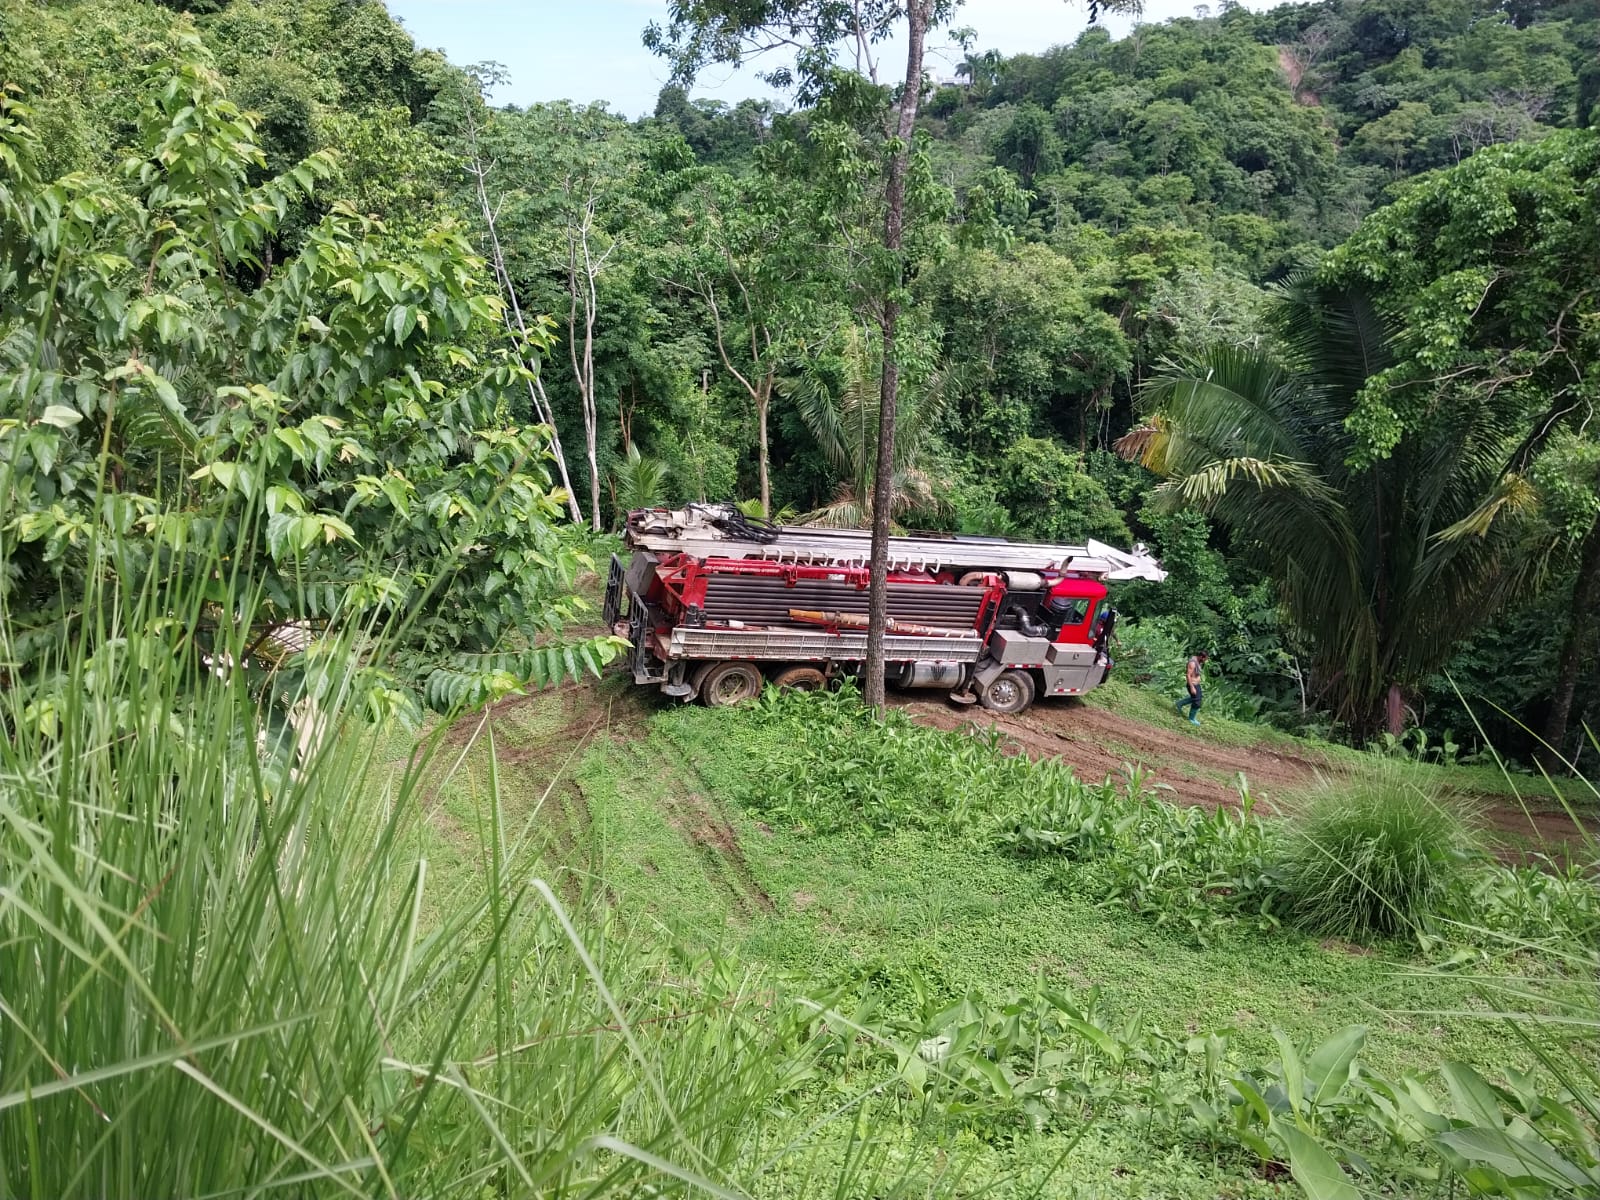
Tip 3! Make sure to budget for site preparation costs. These took me somewhat by surprise!
Step Four - Drilling
Costs - Mobilization $1,500 and Drilling $160 per meter drilled
The drill team will arrive at your site shortly after receiving the permit. You have one month from the date of receipt of the permit, within which to drill. You can if necessary apply for a one month extension to this deadline.
We had bad luck with the weather during our drilling, with torrential rains slowing things down and making it harder for the huge machinery to get down into place and to exit once finished.
The drilling took two days. We found water at 95 meters and they drilled until 110 meters.
Tip 4! Ask the drill team if they need to order materials once they have drilled. In my case they needed 6 meters of piedra quintilla in order to fit the tubes. If i had known this I would have ordered it in advance, rather than have things delayed waiting for the hardware truck to deliver.
Step Five - Pump Test and Filtration Study
Cost - $2,800
Once the well has been drilled, a second team will come to do the pump test. You have to schedule this separately, and in my case there was a delay of one month before the second team were able to come.
Costa Rica law requires newly drilled wells to have a total capacity pump test performed. A submersible pumping system is installed and the operating techinician stresses the well at different discharge rates. The water levels are recorded at the different discharge rates over a 24 hour period. The geologist then writes a report setting out the aquifer´s behaviour. The Aquifer Characteristics Report and the Water Well Completion Report (produced by the drill team), are then submitted to the Department of Water, and the well becomes registered. The same information is used for the concession application. The drilling company does not perform the concession application, but they did provide me with a contact to help me with this.
If you are applying for the setback from the rivers, roads and property borders to be reduced from 40 meters to 15 meters, you will also need to provide a Filtration Study. The geologist completes this study.
Step Six - Apply for the Concession
Cost - $1,000
Once you have the Well Completion Report, the Aquifer Characteristics Report and the Filtration Report, you can apply for the concession to use the well water. The concession can take anywhere from 6 months to two years to come through. You are not permitted to use the water before receiving the concession. And you will not be able to get a building permit until the concession comes through.



Responses